Session 1: Getting Started with anitya—Immersive Learning to Create Immersive Experiences
This is the first in a series of articles where we break down the content from our recent workshop with Vitor Milagres. Across four sessions, we explored how to use anitya to craft engaging and dynamic immersive experiences. In this first one, we dive into the essentials of getting started with anitya, laying the groundwork for everything you need to begin your journey in XR development.
Kicking Off with the Basics
Our workshop began by getting everyone comfortable with anitya, our AR/VR development tool that’s facilitating how we approach immersive experiences. Whether attendees were educators eager to create VR classroom environments or designers exploring 3D worlds for the first time, understanding the basics of anitya was, and still is, crucial. This session laid a solid foundation, covering everything from setting up your workspace to making the most of anitya’s low-code features.

Diving into the Essentials
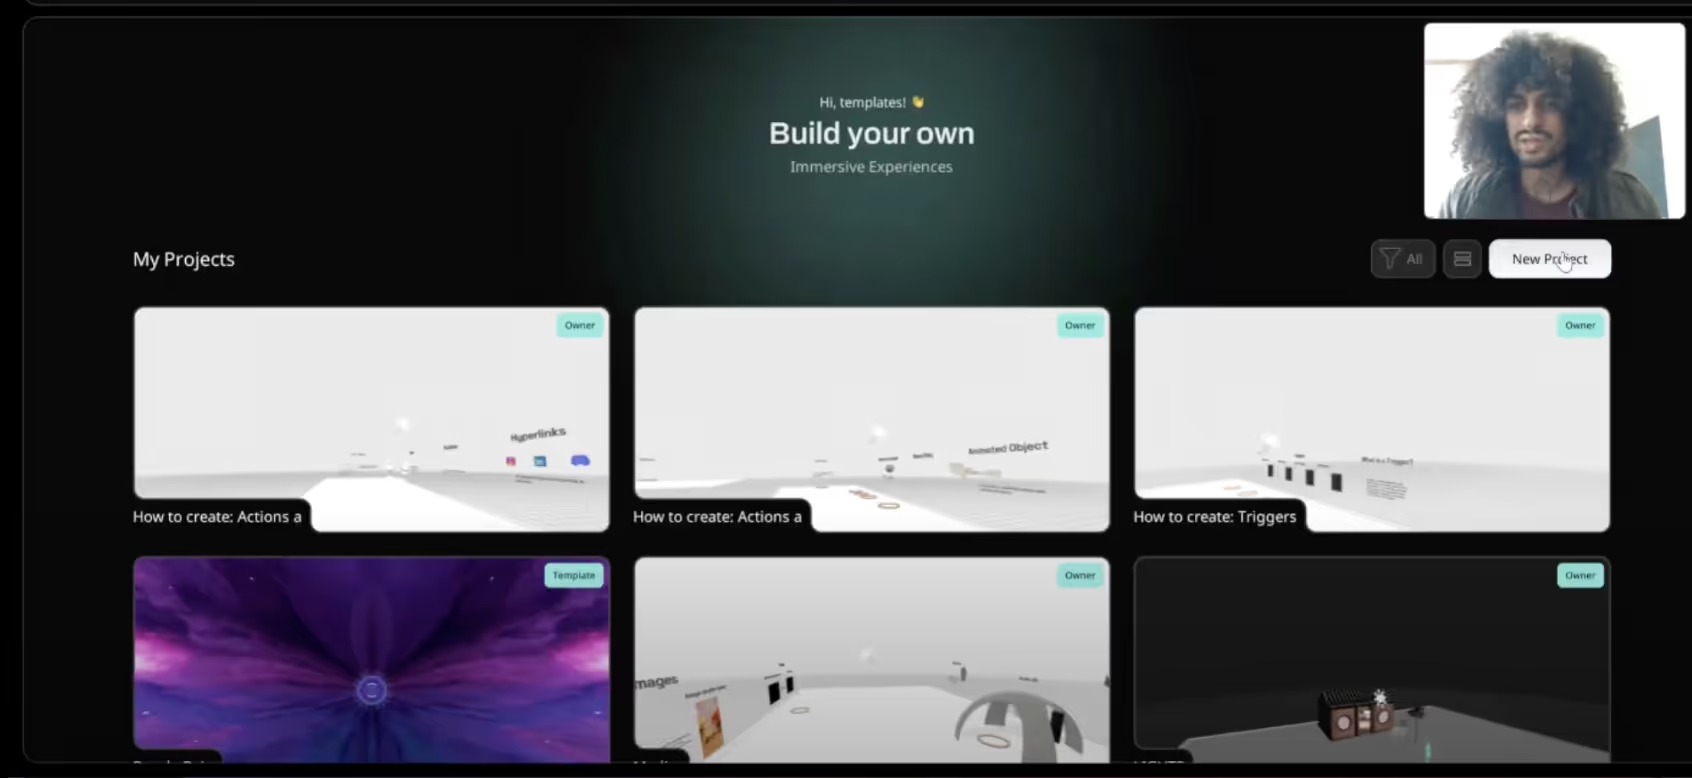
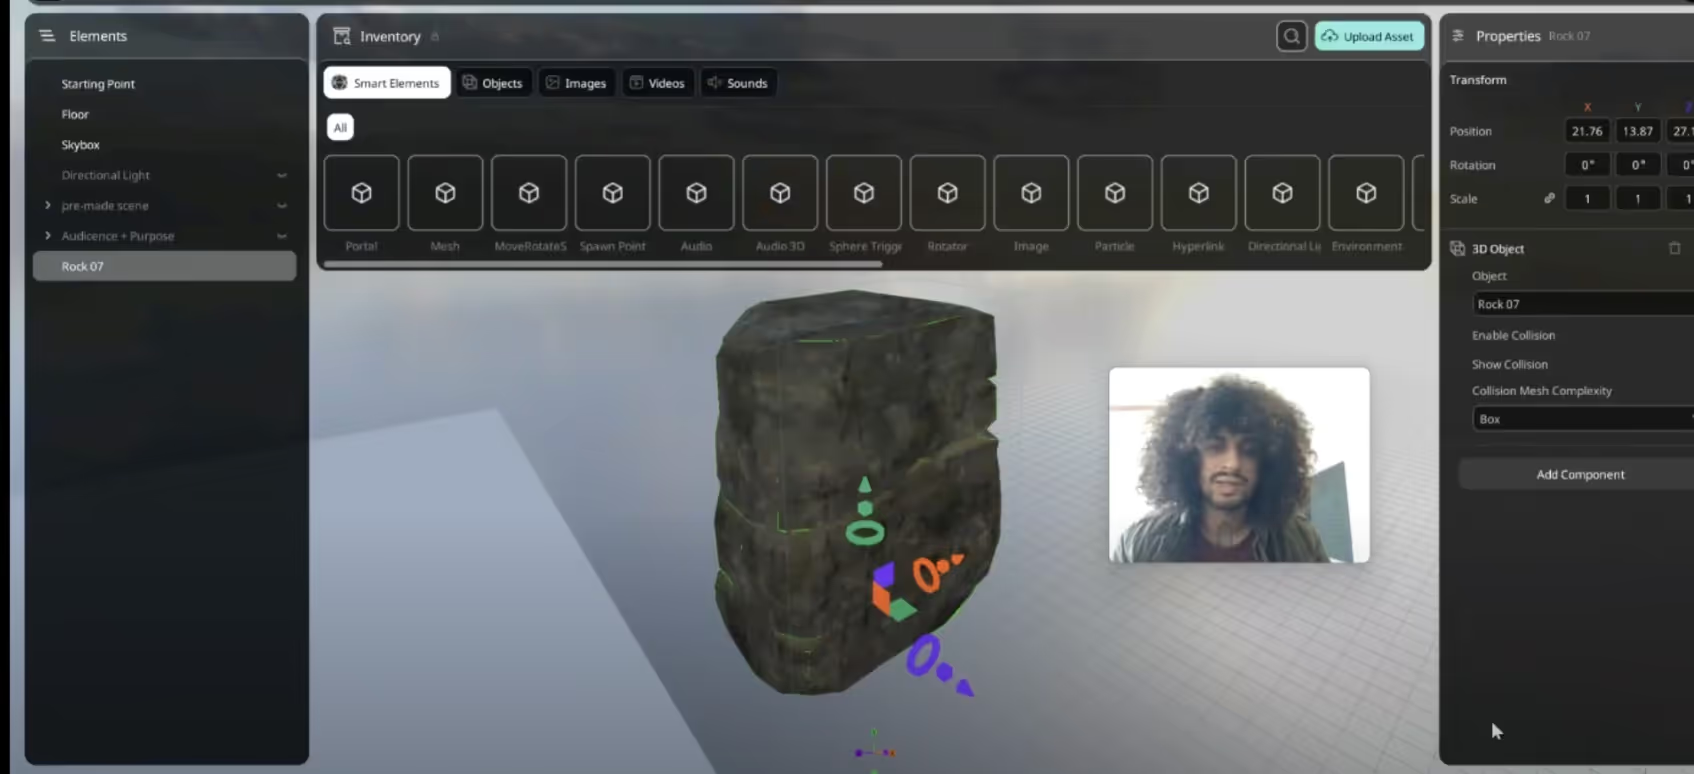
We started by exploring anitya’s user interface—a space designed to be as intuitive as it is powerful. Vitor guided us through the various menus and tools, ensuring everyone knew how to navigate the platform with ease. anitya shines as a low-code XR development tool, meaning you don’t need to be a coding expert to start building immersive experiences. This is ideal for educators and creators who want to focus more on the creative aspects rather than getting tangled up in technical complexities.
Setting Up Your First Project
Vitor emphasised the importance of organising your workspace from the beginning. In anitya, this means setting up your project in a way that keeps everything neat and accessible. We learned how to create and manage layers, a key aspect of tracking different elements within your immersive environment. This organisation becomes increasingly important as your project grows, allowing for easy edits and adjustments down the line.
Uploading and Managing Content
Next, we delved into the process of uploading content—whether 3D models, images, or videos, anitya makes this process straightforward. Vitor demonstrated how to bring in external assets and integrate them seamlessly into your projects. This flexibility is essential, especially when dealing with rich, multifaceted environments that require a variety of media types to come together harmoniously.

Maximising the Power of Low-Code Development
One of the most exciting aspects of anitya is its low-code approach. Rather than writing extensive lines of code, you can leverage anitya’s drag-and-drop functionality to assemble your world. This not only speeds up the development process but also opens up AR/VR creation to a broader audience, including those without a traditional tech background. Vitor showed us how to group and layer elements effectively, which is particularly useful for rapid modelling and prototyping.
The Importance of Rapid Prototyping
Finally, we discussed the value of rapid modelling and prototyping within anitya. Vitor encouraged us to experiment during this phase—try different layouts, test various content, and iterate quickly. This flexibility allows you to refine your ideas before committing to the final design, saving time and enhancing creativity.
Main Learning: anitya’s user-friendly design and low-code features make it accessible for anyone, whether you’re a seasoned developer or a newcomer to AR/VR.
Key Takeaway: Start with a solid foundation—understanding the basics of the platform and setting up your workspace correctly will save you time and make your project smoother to build.
Ready to delve into the session? Watch Session 1 Now on YouTube
