How to Connect Claude to Anitya and Build a 3D World by Typing
You do not need to learn the Anitya builder to build in Anitya. That sounds like a marketing line, so here is the specific version: you type one sentence, and a canyon appears in your browser while you watch. Most people never try it because they assume wiring an AI into a 3D tool is a developer job. It is eight clicks and a URL, and it takes about three minutes.
Stick around to the end and you will also see the part most tutorials cut out, which is where it gets something wrong and you fix it by talking to it.
Why this is worth three minutes
Anitya already lets you build without code. This connection removes the next layer, which is you doing the clicking. You describe what you want, and Claude creates the world, sculpts the terrain, places the assets, sets the sky and drops your spawn point, live, in a tab you have open.
You need two things before you start: an Anitya account you already build with, and the server address.
https://ais.anitya.space/mcp
Copy that, you will paste it in step 4.
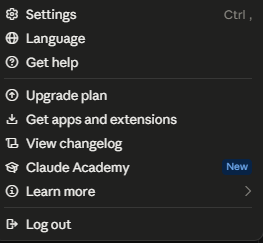
Step 1: Open your settings
Go to the bottom left of Claude, click your name, and choose Settings.
Step 2: Find Connectors
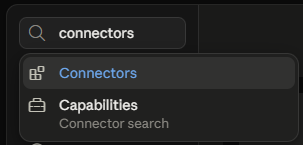
Type connectors into the search bar at the top and pick Connectors from the results.
Step 3: Add a connector
On the Connectors page, click Add in the top right.

Step 4: Name it and paste the URL
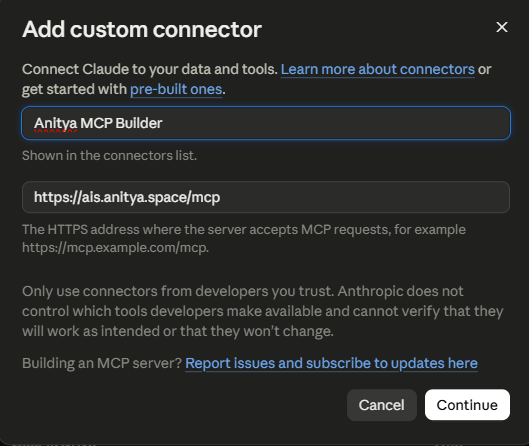
Two fields. Give it a name you will recognise in the connectors list, and paste the server address into the URL field.
Anitya MCP Builder
https://ais.anitya.space/mcp
Then click Continue.
Step 5: Connect
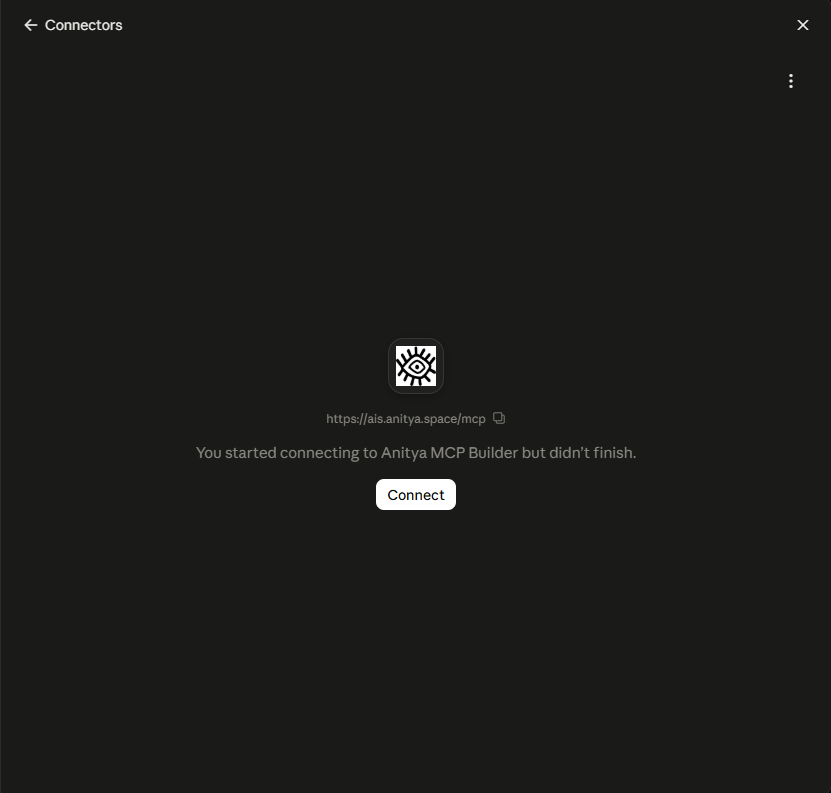
Claude now shows that you started connecting but have not finished. Click Connect.
Step 6: Continue connecting
A confirmation appears asking whether you want to finish connecting. This is a safety check, because a link on its own should never be able to attach anything to your account. You started this one, so click Continue connecting.

Step 7: Allow
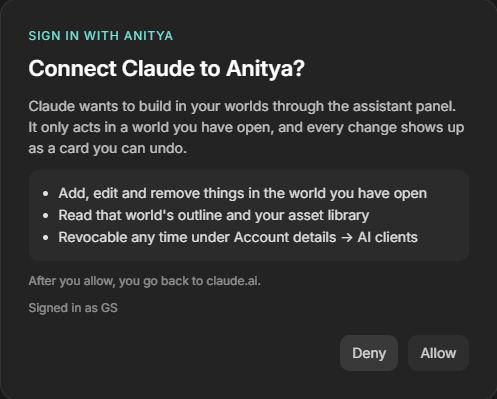
Anitya asks whether Claude can build in your worlds. Read what it is actually asking for. It only acts in a world you have open, every change arrives as a card you can undo, and you can revoke it any time under Account details, AI clients.
Click Allow.
Step 8: Set the tool permissions, because this is the step people miss
You are connected now, but you are not done. Open the connector and look at Tool permissions. There are three interactive tools and ten read only ones, and by default Claude stops and asks you before each one.
Set both groups to Always allow.
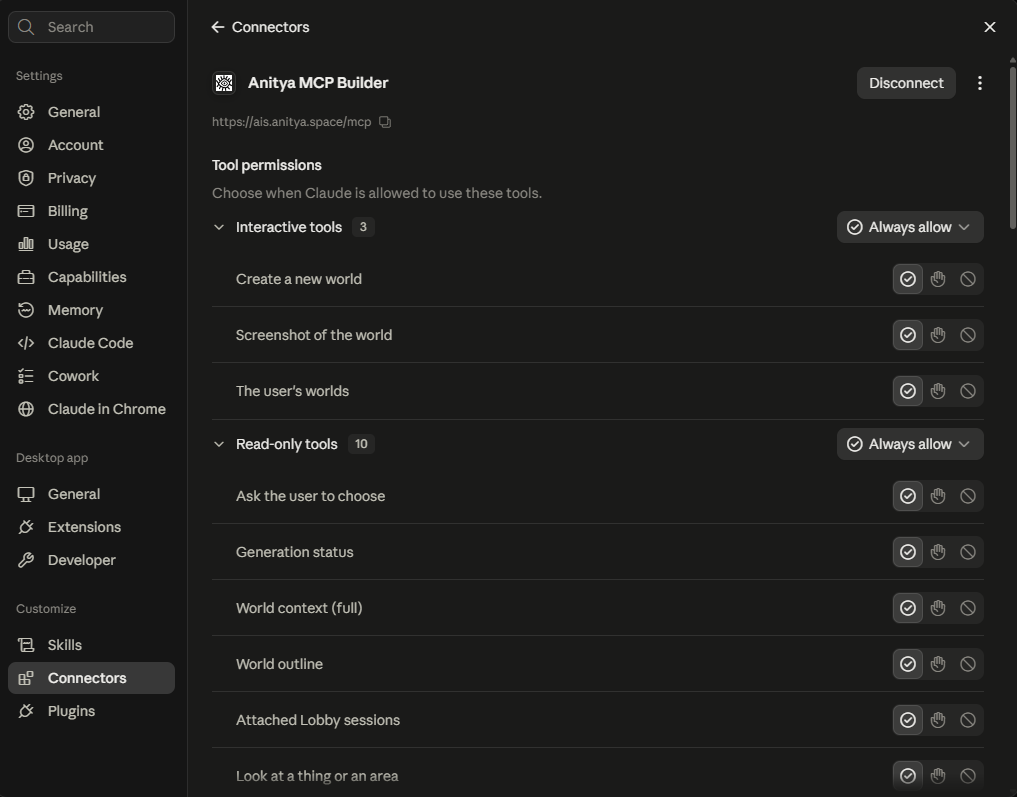 Skip this and building becomes miserable. A single world is dozens of tool calls, so you spend the whole session clicking approve instead of watching it build. You are still safe, because it only ever acts in the world you have open and everything is undoable.
Step 9: Open a builder tab
The last piece, and the one that catches everyone. The connection does not build through an API in the background. It drives a live Anitya tab.
Open app.anitya.space/builder, sign in, and leave it open. With nothing open, the connector will happily report that it is connected and absolutely nothing will happen.
Step 10: Say your first world out loud
Say it the way you would say it to a person. No syntax, no parameters, no settings.
Here is the weak version, the one most people type first:
Make a canyon.
And here is what I actually typed:
Using anitya MCP, build me a wide canyon with old stone ruins along the floor
The difference is two things, a sense of scale and something specific to put in it, and it is still short enough to redirect ten seconds later. Give it a size and one concrete detail, then steer.
Naming the connector at the front is not strictly required, Claude will usually reach for it on its own, but it removes any doubt about which tool you mean.
Now watch what happens.
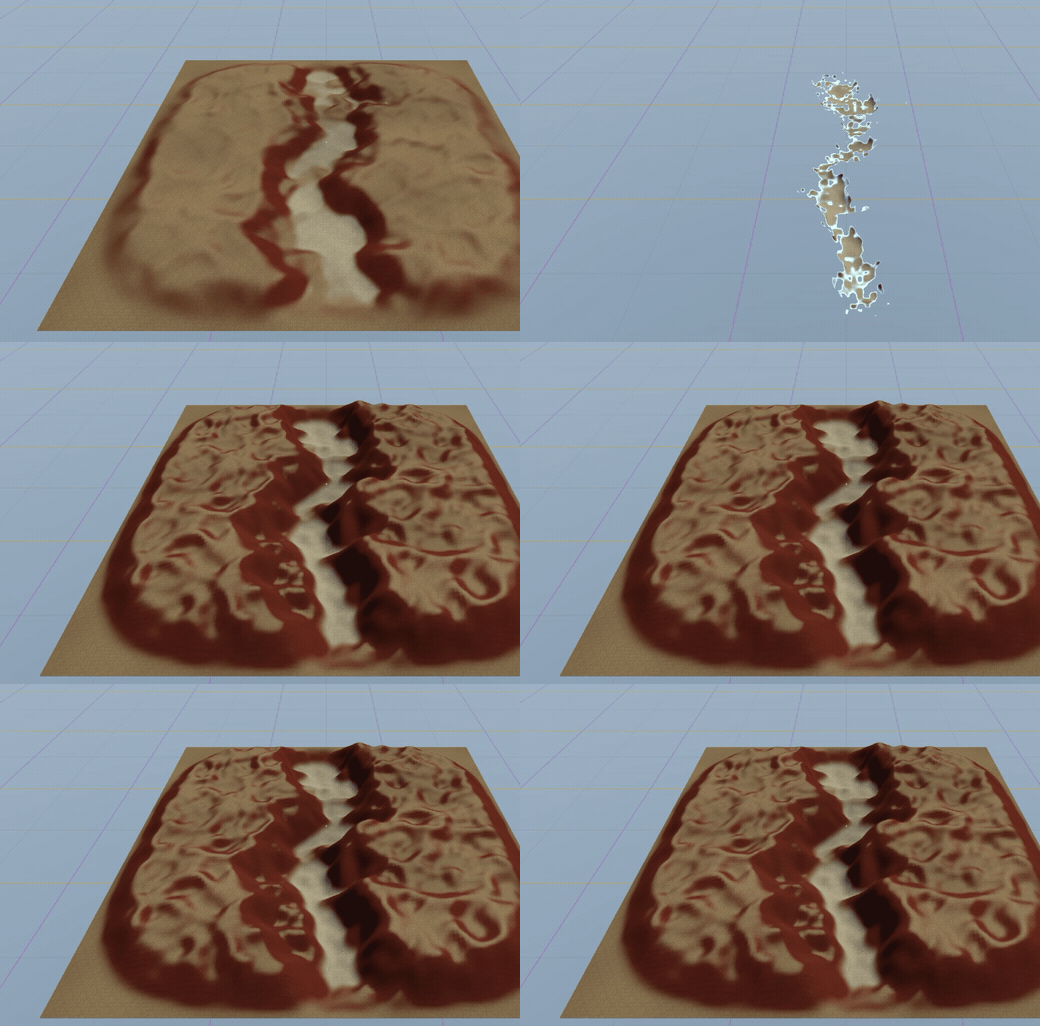 The ground clears and a canyon builds itself in about a second. No menus, no sculpting tools, no tutorial to sit through first.
Then I kept talking to it:
Make the canyon walls taller and spread the ruins further apart
Two changes, one sentence, no panels opened.
Then it got it wrong
Here is the part most tutorials leave out.
I hit play to walk around, and the ruins were floating. Not subtly either. Stone arches were hanging in mid air over the canyon like someone had paused a rockfall.
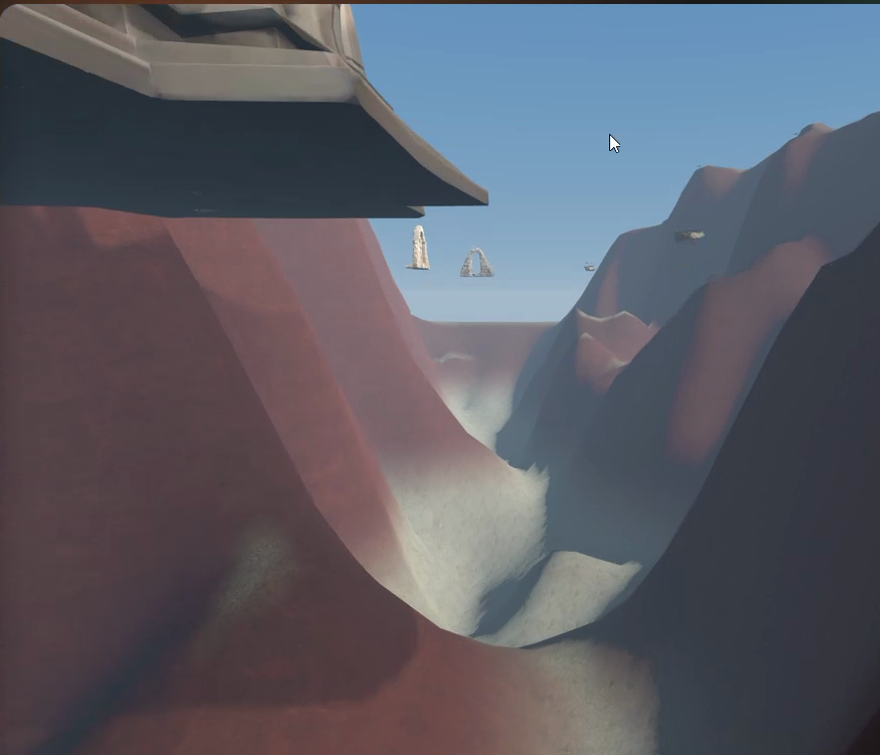 I did not open a properties panel or go hunting for a Y coordinate. I just said what was wrong, and not carefully either:
I want the ruins dropped on the floor, it's floating.
Then I hit play again.
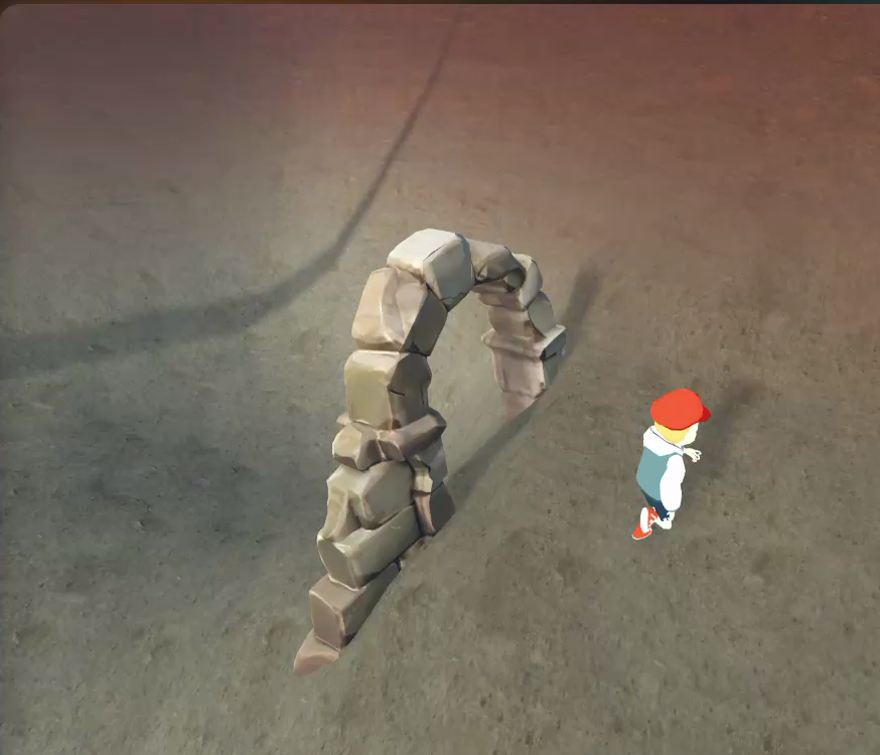 Arches sitting on the canyon floor, casting real shadows, with a character next to one for scale. That fix was one sentence, and a slightly clumsy one at that. It did not need to be tidy, it needed to be clear.
And it is a real place you can walk around in, not a render:
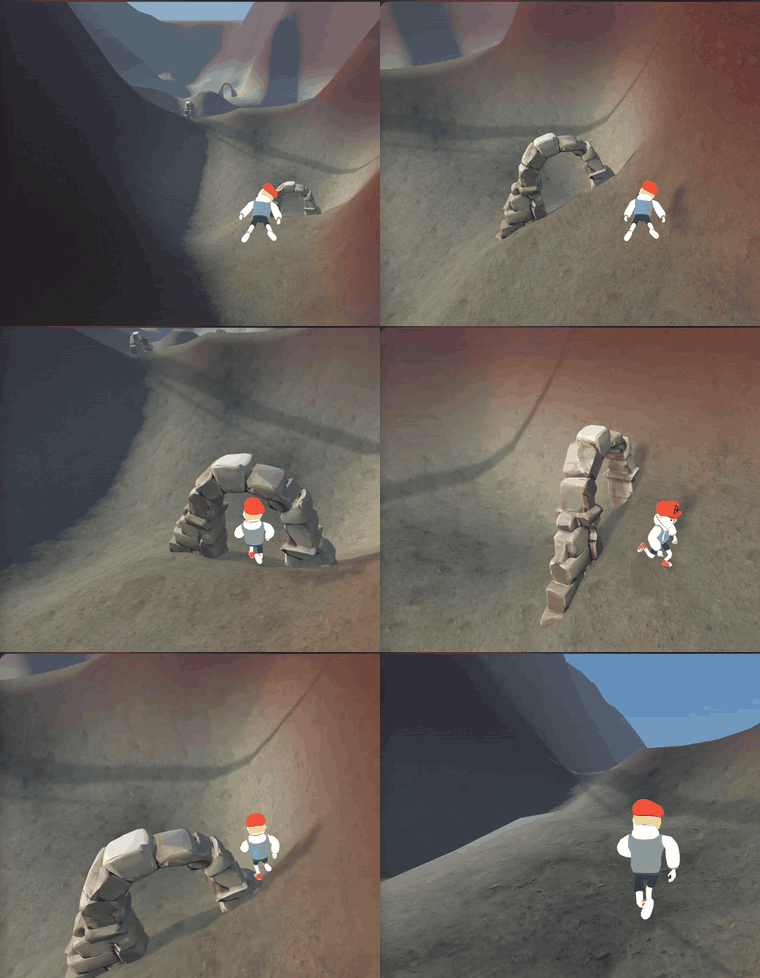 That world is live, so you do not have to take my word for any of it. Walk into the canyon yourself.
The honest tip nobody puts in these tutorials
Do not write a perfect prompt. I wasted my first few sessions composing careful paragraphs describing every rock and every archway, and the results were consistently worse than when I typed one short line and corrected it live.
The floating ruins are the actual lesson. It got something wrong, I said so in plain words, and it fixed it. That loop beats any amount of planning up front, because you can see what you are correcting. The people getting good worlds out of this are having a conversation, not writing a brief.
One more thing before you start. Accounts cap at fifty worlds, and there is no delete button on the connector side. When Claude tells you it cannot create one, that is why. Clear the old ones out in the Lobby and carry on.
Now go build something real
You are connected, so put it to work. Open a builder tab, type one sentence, and see what shows up.
It will get something wrong. Tell it what is wrong, in whatever words come out, and watch it fix itself. That loop is the whole thing, and it is a lot more fun than it has any right to be.